
We all have to start somewhere, right? One of the most daunting parts of graduating to the free weights section is the fear of not knowing what to do; the barbell can be a fearsome foe to the uninitiated .When you step up to the plate you need to know how to handle this piece of prime real estate. Next up in the Lifting 101 series we’ll guide you through step one – how to even hold the bar.
With the following information under your belt you’ll be set to take your first steps on your journey of iron. In this article we’ll walk you through hand placement for the Squat, Bench, Deadlift, and Overhead Press (OHP).
OHP
Okay so we’ve found the barbell – that long shiny thing in the scary part of the gym, we’ll start with the easiest of the lifts. To carry out the overhead press we must first place the bar on the rack to around the height of the upper chest. This is by either adjusting the pins/hooks to the correct height or by placing the bar in the appropriate hold in a fixed rack. Once the bar is at the correct starting height, we need to grip the bar (palms facing forward, knuckles pointed to the ceiling) just outside of shoulder width apart. We’re aiming to keep a vertical line from the elbow, along the forearm, and up to the knuckles – being sure to keep the back of the hand flat and flush with the forearm.
Maintaining the hands in a vertical position will keep the wrist in a safe and stable place, and will reduce unwanted strain in the wrist joints. The vertical line that we’ve created with our arms will also closely mirror the desired bar path for the lift. At the beginning of the movement you will need to slightly shift your head back a little to allow the bar to pass, so that the bar doesn’t hit the chin on its ascent. And there you have it; you’ve nailed the OHP. You’ll overtake Larry Wheels in no time. Next up, the squat.
Squat
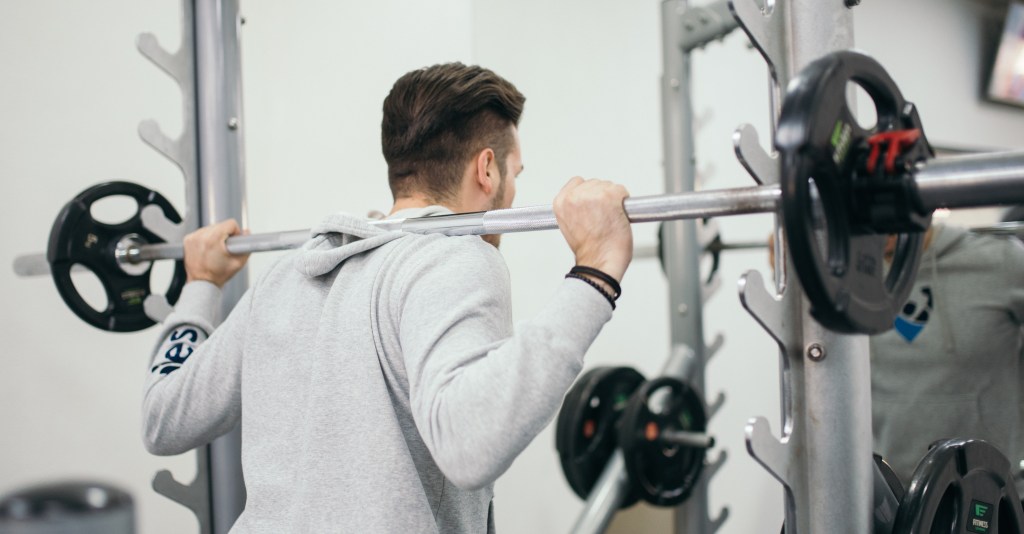
The back squat is almost as simple as the OHP; grab the bar palms forward, outside of shoulder width just as before. There are a few more steps to take for the squat but we’ll aim to maintain this current grip position throughout the entirety of lift. Now we have to place the bar on the back. All we have to do, keeping our hands in place, is step forwards under the bar and position the head on the other side. We can then rest the bar on the top of the back – on our rear delts (not the neck). Squeezing the shoulder blades together at the same time as dipping under the bar will engage the posterior deltoid muscles and increase tightness in the upper back – this can provide a ‘shelf’ for the bar to rest on, and will help to increase stability in the squat. When we feel comfortable with the bar resting on the back, we’ll take a step backwards to ‘unrack’ the bar from the rack. Then it’s time to go time.
It may not be possible to keep the elbows perpendicular to the floor as was the case with the OHP, this will depend heavily on the lifter’s level shoulder mobility. What is more likely is that the forearms will track parallel to the angle of the torso. The closer the lifter can bring the forearms to a vertical position the more the lats will become engaged in the lift – which will lead to greater upper back tightness and better stability throughout the movement. Once you get used to the movement you can start to experiment and tweak your ‘set-up’. The width of your grip will ultimately depend on your shoulder flexibility – ‘just outside shoulder width’ is a good place to start, but you should eventually find out what works best for your anthropometry. Ideally we would want to place the hands as close to each other as is comfortable in order to increase tightness in the upper back.
There are many positional variations that can be modified to have an impact on how to grip the bar – low bar vs high bar squatting, Rippetoe Grip, Talon Grip, supports in/out, the list goes on. As you gain experience and amass time-under-the-bar you will naturally start to develop preferences and create your own styles. For now, this is a good place to start – shoulder width grip, wrists straight, with the bar snug on the delts.
Bench
We can break this down very easily as we already know the basics, however there are some subtle differences that we’ll need to take into account. The biggest difference being that we’ll be lying down with our back on the bench and the bar will be above us. We’re going to outstretch our arms upwards with the knuckles pointing to the ceiling and the palms facing our toes. The thumbs will be wrapped around the bar as normal, with the wrists straight, in line with the forearms – however, this time we’ll adopt a wider grip. Instead of holding our arms out straight in front of our shoulders we’re going to widen the grip by at least a ‘hand space’ or two (the distance between your thumb and pinky).
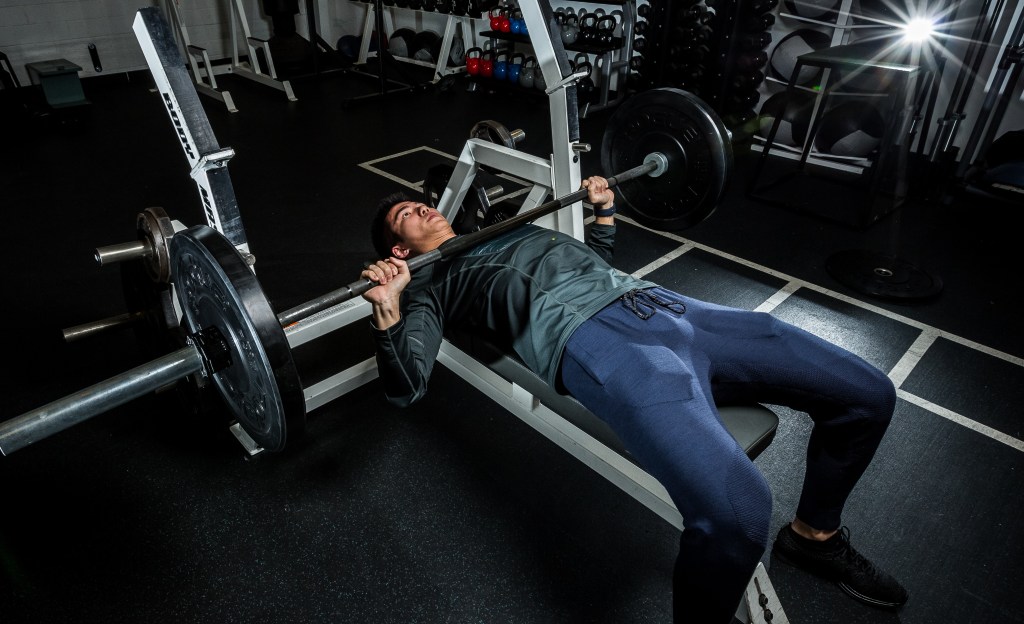
For the powerlifting specific bench press we can exaggerate this even further by having the grip as wide as possible. This is to decrease the range of motion and shift more of the focus of the movement to engage the pectoral muscles, and less so to the weaker triceps or anterior delts which are called upon to a greater extent with a narrow grip. The maximum legal grip width limit for powerlifting is 81 cm, denoted by the rings found on standard barbells.
To start with we’ll take our grip as wide as is comfortable making sure that we hold the bar at least marginally wider than our standard OHP or squat grip. This will allow for the elbow and humerus to tuck at around 45 degrees to the body, and will allow the bar to smoothly touch down to the sternum for our desired bar path. Again, as we advance we can experiment with different wrist angles, Japanese grip, and even False grips.
Deadlift
Finally we find ourselves at the feet of the king of all exercises – the deadlift. In terms of grip, this has the most variance between lifters and is the source of the most confusion for beginners. I’ll leave you with a quote from the infamous Dom Mazzetti “There are 4 ways to grip the bar – 3 of which you should do, 2 of which you can do, and 1 of which you’re going to do”. So to kick off your deadlift journey we’re going to start with Mixed Grip as this is our recommendation for beginners.
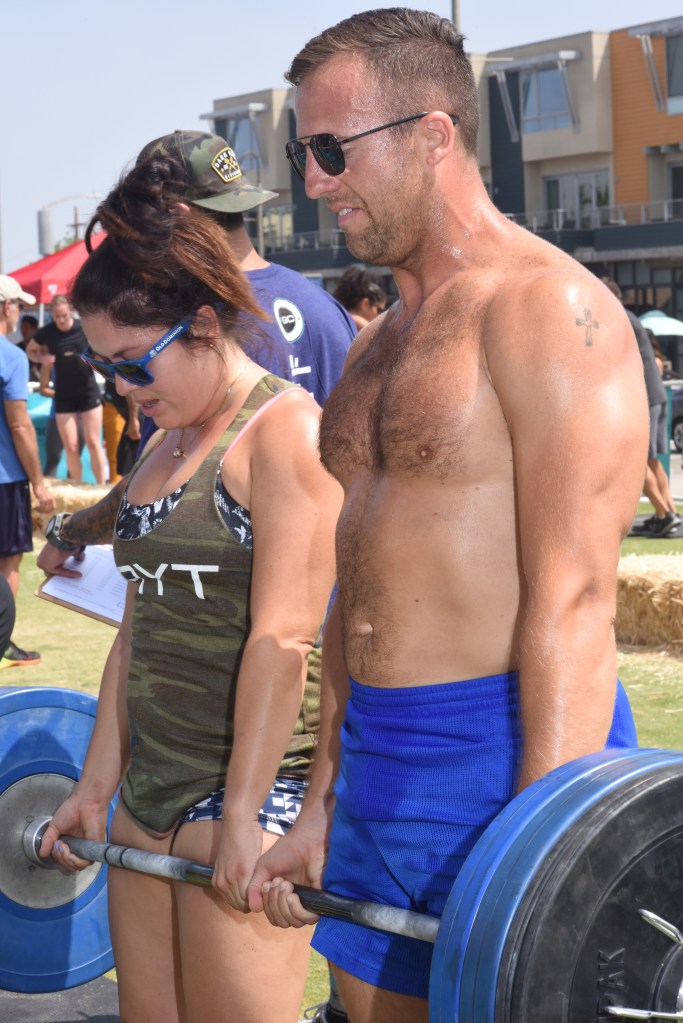
The bar starts on the ground, over the middle of your foot, and you’ll reach down and grab the bar with one palm facing forwards and one palm facing backwards, this time with the knuckles pointing to the floor. There should be very little variation with grip width, the arms should fall directly downwards from the shoulders as if they were ropes – we recommend an exact shoulder width grip where possible. Just let your arms drop straight down to the bar and you’ve found your perfect grip. In order to keep the range of motion for the lift to a minimum the arms would need to be perfectly vertical.
Introducing any angle between the shoulder and the hand will require the lifter to move the weight slightly further, and will increase the difficulty of the lift. We’re only talking inches here but when it comes to biomechanics – efficiency is paramount. It will also be vitally important to keep the elbows straight and locked so as not to transfer any pressure to the biceps. Imagine your arms are just a pair of ropes connecting your shoulders to the bar. Anyway, back to mixed grip.
The reason that mixed grip (also known as alternate or over-under) is so effective is because it allows the lifter to simultaneously stop the bar from rolling forwards or rolling backwards out of the lifter’s hands. For this reason the double overhand grip is seldom used – even with minimal loads the bar can simply roll out of this weak grip.
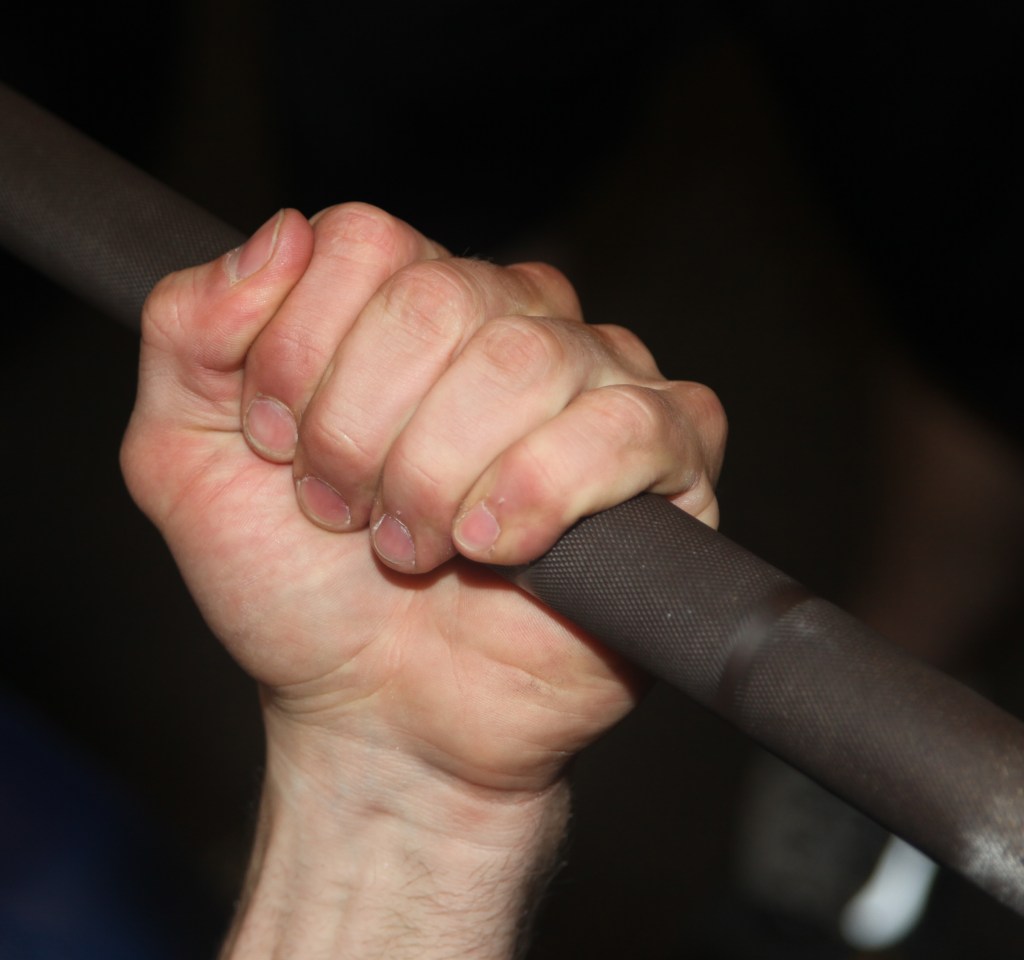
The next grip in the lifter’s arsenal is the ‘Hook Grip’. This is regarded as an advanced technique and lifters tend to transition to hook grip after having already gained experience learning to deadlift with mixed grip. Hook Grip can also be quite uncomfortable and even painful. This grip is rapidly growing in popularity because it is commonly regarded as being the most secure of all of the grips. In a double overhand position, the lifter will place the fingers on top of the thumb rather than the other way around. This pins the thumbs to the bar, and the bar in turn to the palm. This squeeze on the thumb can be very unpleasant but it certainly does the job.
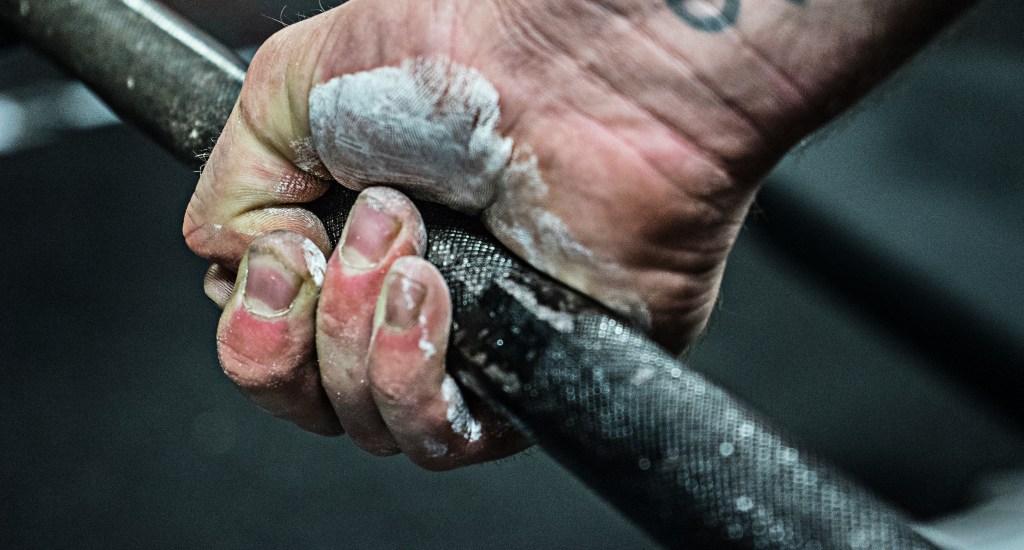
Pro tip: to make any of these grips even tighter and reduce the formation of calluses, aim to house the bar in the groove where the fingers meet the palm, rather than in the centre of the palm as many beginners often do. This will stop the bar squeezing the fold of the skin at the bottom of where the bar is moored. Also, under heavy loads the bar will naturally sink into this groove which now forms the bottom of your grip, so aim to start in this position as this is where weight wants to be. And if we want to hark back to powerlifting efficiencies, we shed an inch or so off of the total range of motion when adjusting to this position.
Final points
To round this article up we’ll quickly talk about pressure. For the deadlift we need to squeeze the bar! This grip needs to be tight so that the bar doesn’t drop. Conversely for the squat, only a small amount of pressure needs to be added to the bar as the aim is to merely guide and maintain the bar on the desired position on the back. The OHP and bench press simply require the lifter to hold the bar and not drop it, so unlike the deadlift, here you don’t need to squeeze like your life depends on it. Note that the cue to ‘squeeze the pinkies’ during the bench press can help to reinforce lat activation and internal rotation of the arms by cueing the lifter to ‘bend the bar’.
The last piece of advice for beginners taking up barbell work is to be patient. It can take months or years for lifters to perfect their set-ups, so make sure you take your time and find what’s comfortable for you. These departure points are great for easing yourself in to working on the big compound movements, but also be ready to try new ideas and eventually test out more advanced techniques.
